
Material Resin
Quantity 1 pcs
Price Range $1-100
Lead Time 2 workdays
Gallery

About Project
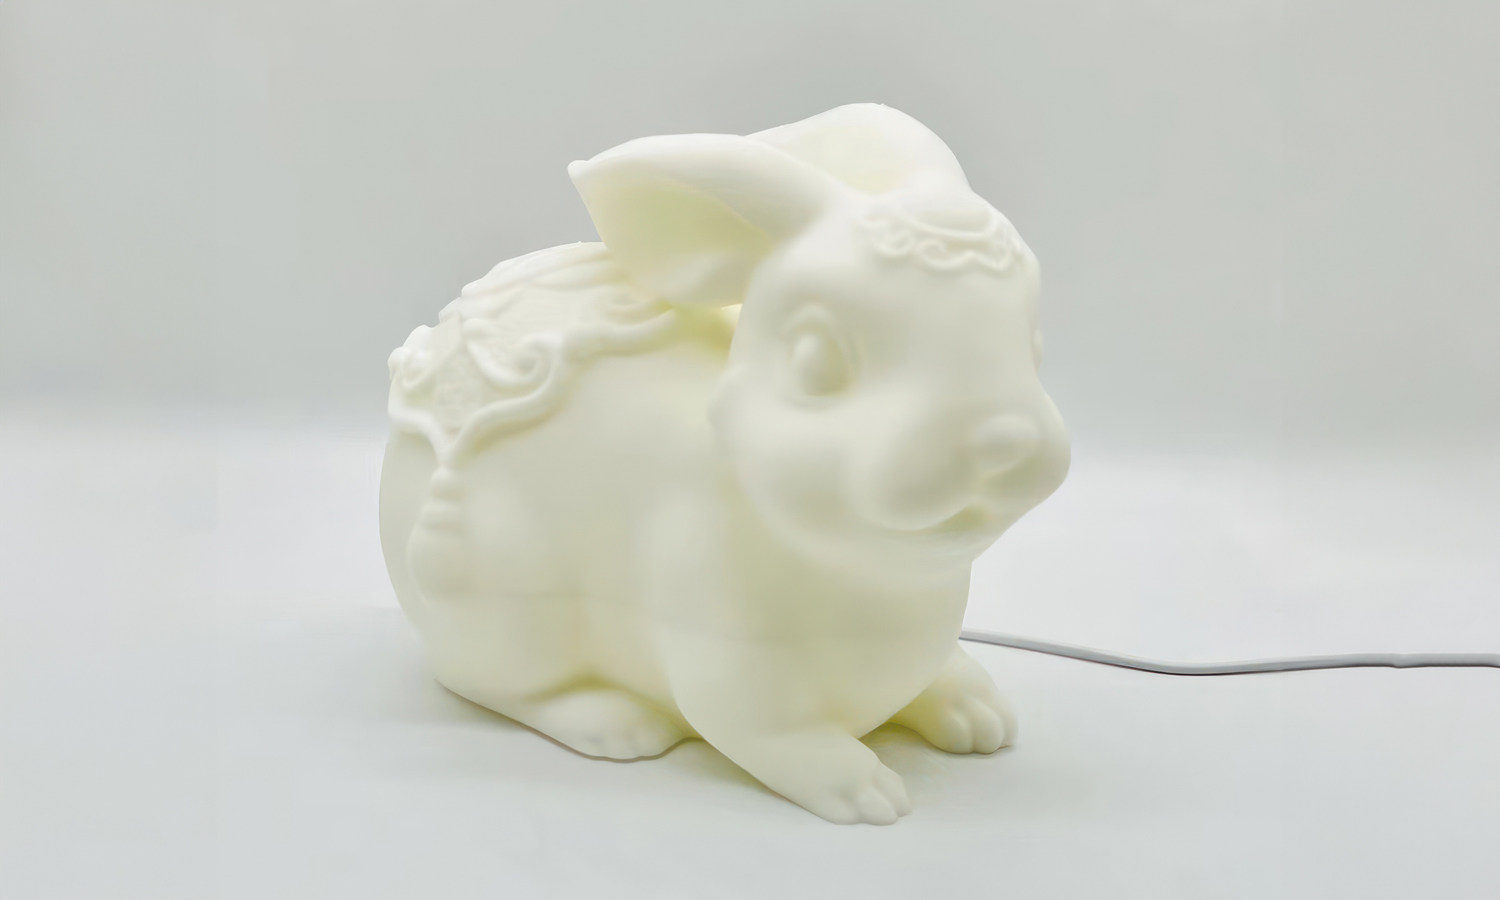
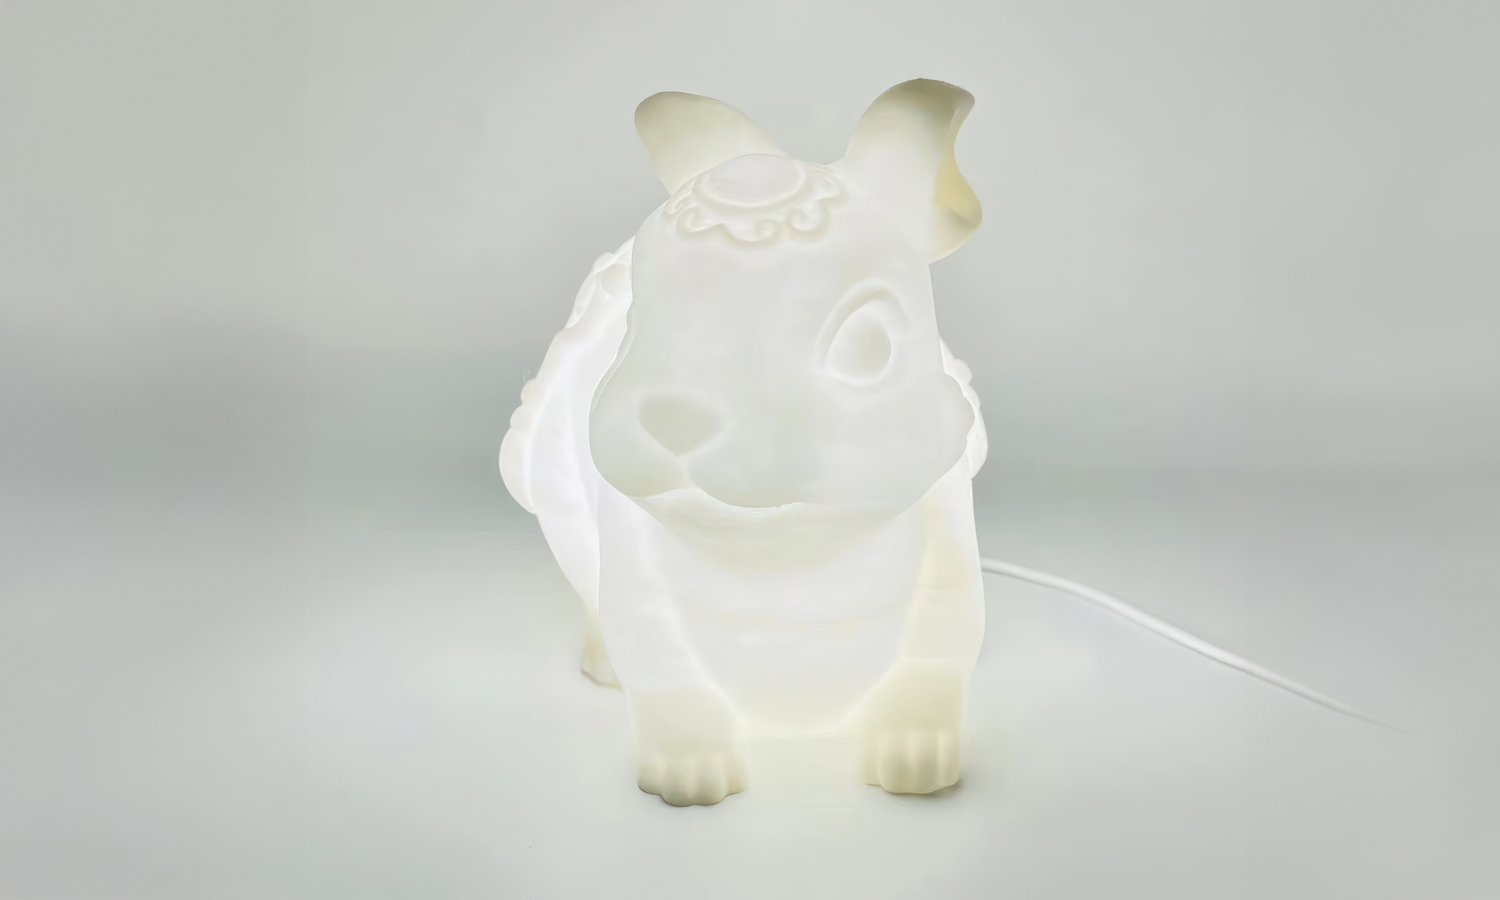
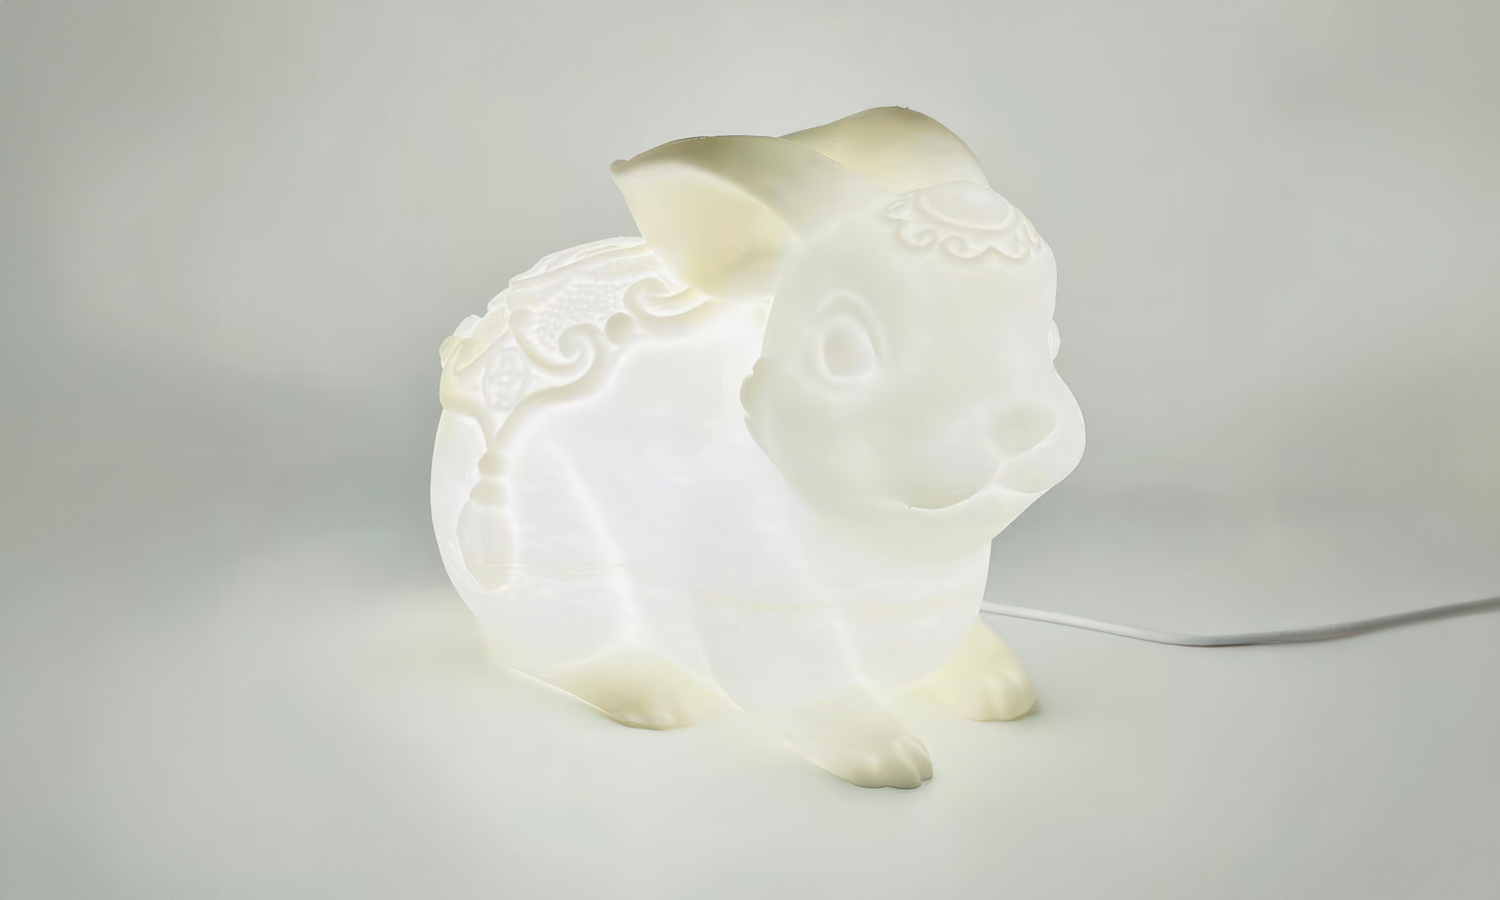
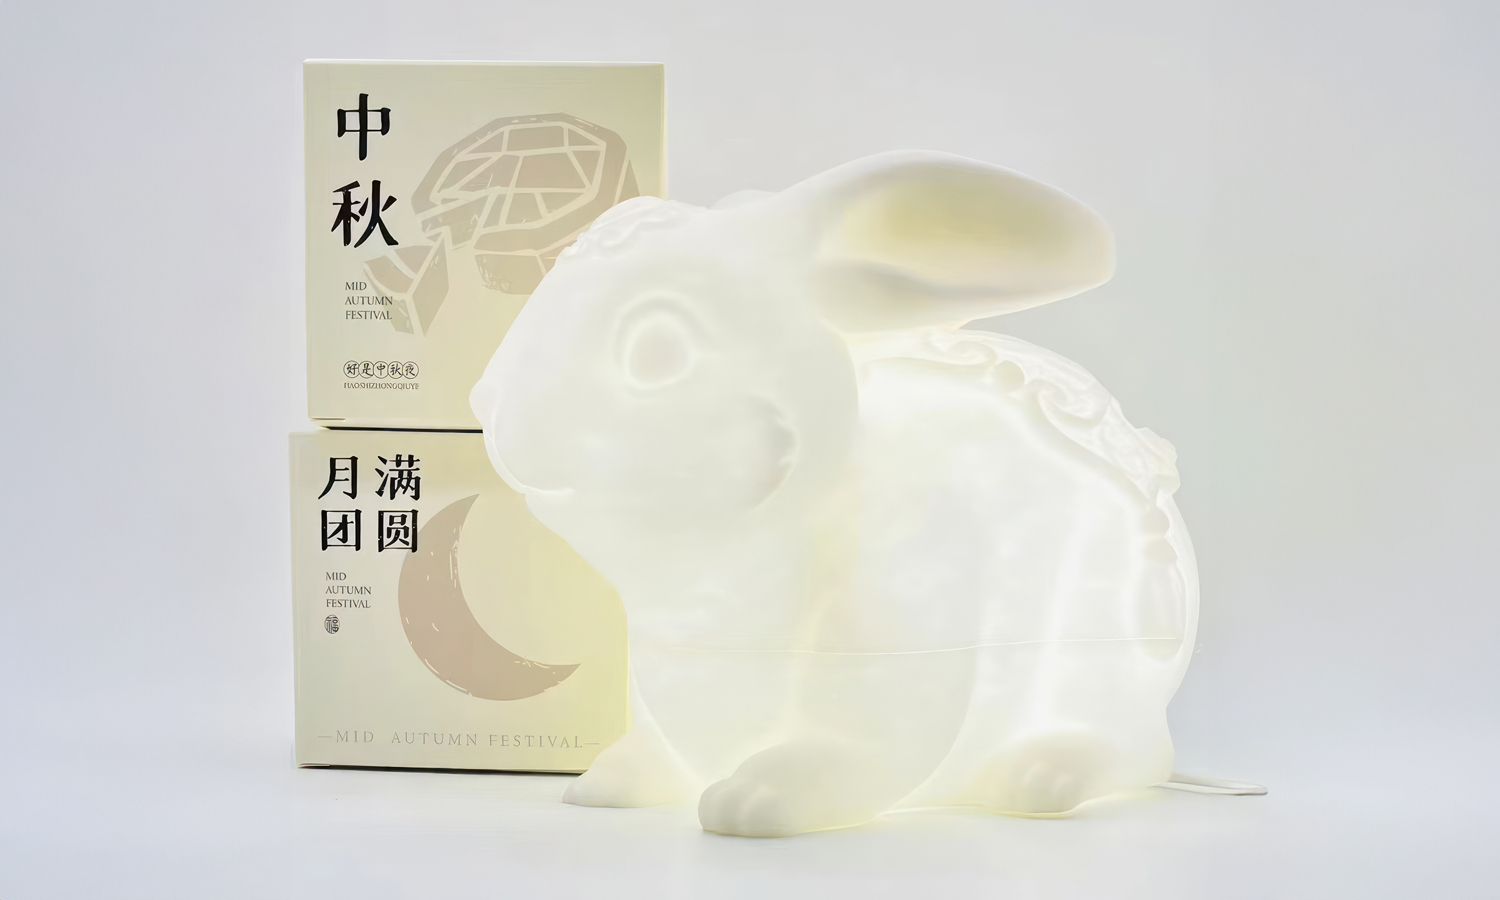
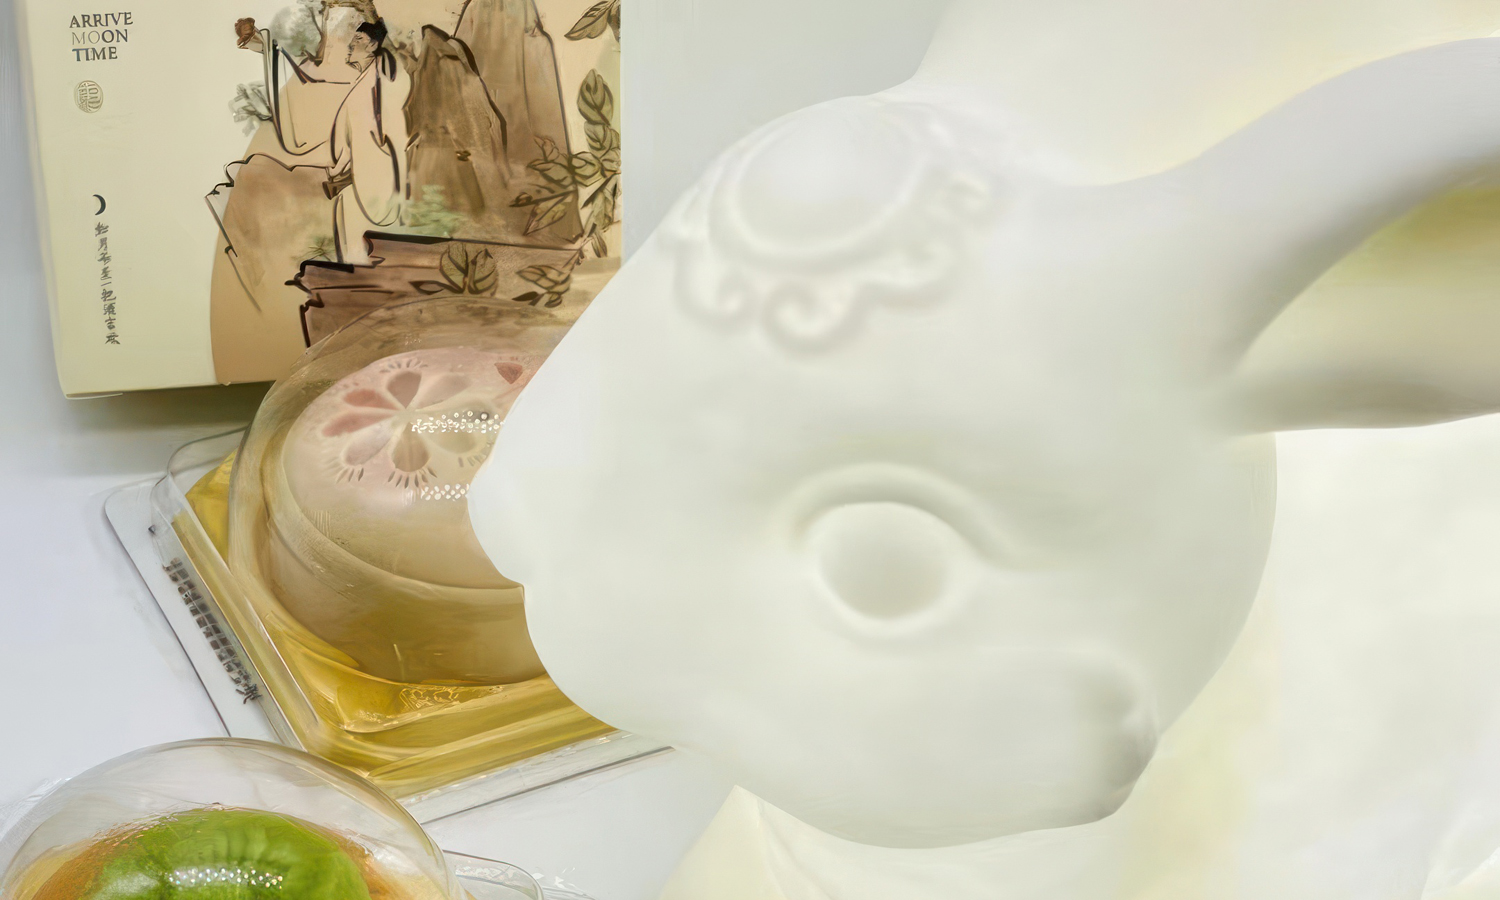
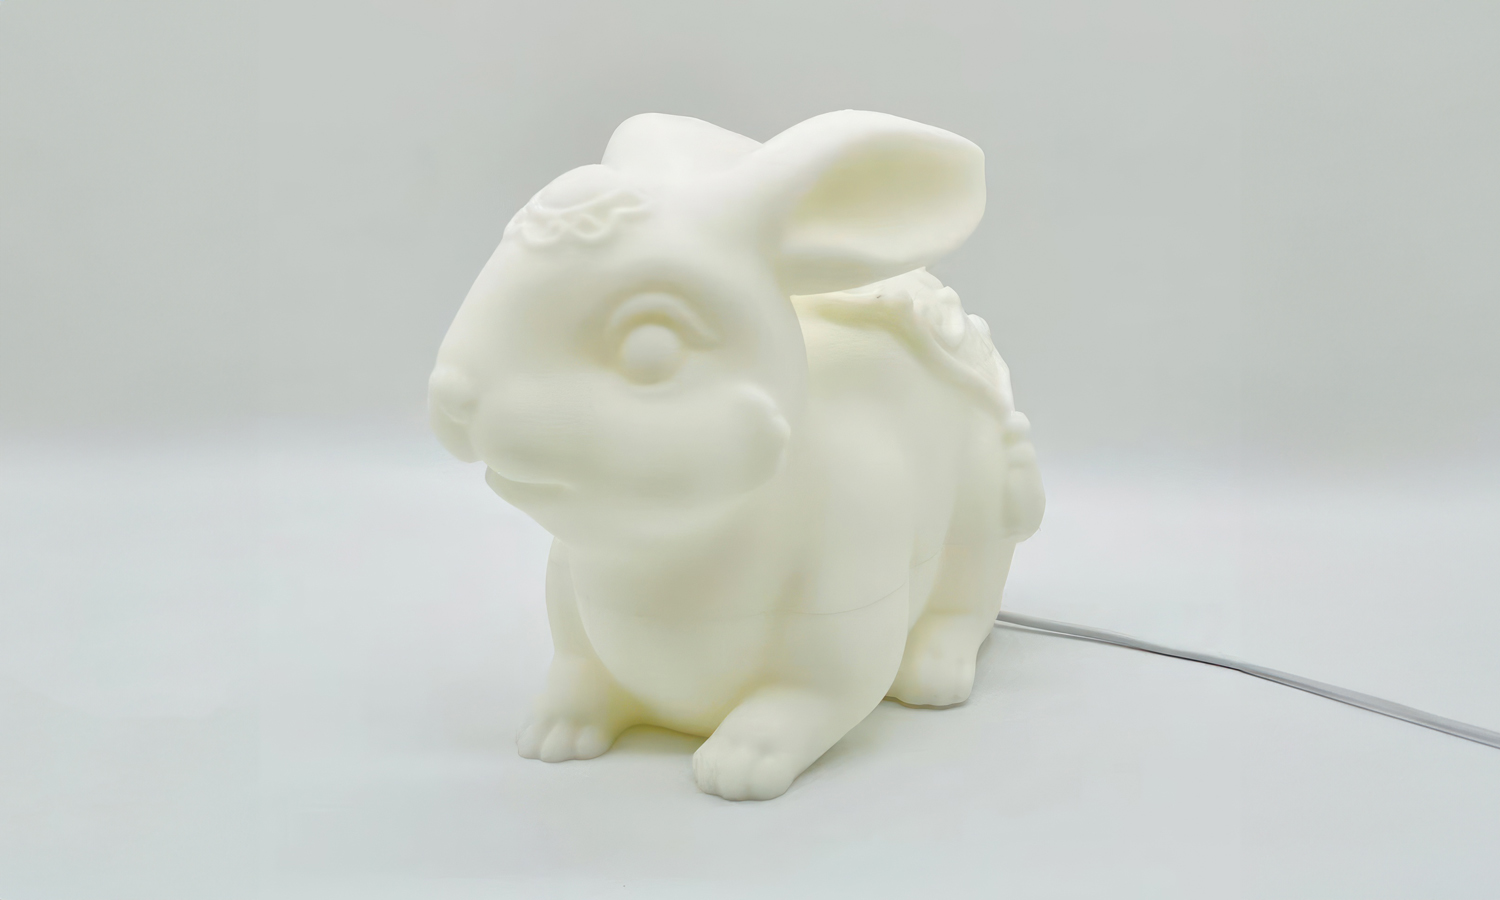
Introducing our adorable 3D printed white opaque rabbit lamp, the perfect addition to your festive decor. This charming rabbit, adorned with a traditional Chinese forehead ornament, is sure to bring a smile to everyone's face.
Crafted with precision using SLA 3D printing technology, our rabbit lamp is both durable and visually stunning. The model is split horizontally from the middle, allowing for easy assembly and the insertion of a bulb. The cord is discreetly placed at the back, ensuring a clean and elegant look.
Key features:
- White opaque finish for a classic and timeless appearance
- Traditional Chinese forehead ornament for a touch of cultural heritage
- Split design for easy assembly and bulb insertion
- Discreet cord placement for a clean and elegant look
- High-quality SLA 3D printing for durability and precision
Looking for a unique and personalized gift? Our 3D printing services at FacFox allow you to customize your rabbit lamp with various colors, materials, and design elements. Let your imagination run wild and create a truly one-of-a-kind piece.
Order your 3D printed white opaque rabbit lamp today and add a touch of magic to your Mid-Autumn celebration!
Solution
- Step 1: Design Creation.¬ÝThe 3D model of the rabbit, adorned with a Chinese traditional forehead ornament, was designed using CAD software.
- Step 2: Model Preparation.¬ÝThe model was split horizontally from the middle to facilitate the assembly of the bulb.
- Step 3: Slicing.¬ÝThe design file was converted into a series of thin layers using slicing software, preparing it for the 3D printing process.
- Step 4: Resin Preparation.¬ÝThe SLA 3D printer's resin tank was filled with white opaque photopolymer resin.
- Step 5: Printing.¬ÝThe build platform was positioned in the resin tank, and the UV laser selectively cured the resin layer by layer, creating the rabbit model.
- Step 6: Post-Processing.¬ÝThe printed parts were removed from the build platform and rinsed in isopropyl alcohol to remove any uncured resin.
- Step 7: Curing. The parts were then placed in a UV curing chamber to ensure complete hardening.
- Step 8: Final Touches.¬ÝAny remaining supports were removed, and the surface was smoothed to enhance the lamp's appearance.
- Step 9: Assembly.¬ÝThe two halves of the rabbit model were assembled, and a bulb was inserted inside.
- Step 10: Cord Installation.¬ÝA power cord was set from the back of the rabbit lamp, ensuring it was securely attached.
- Step 11: Quality Check.¬ÝThe finished lamp was inspected for any defects and tested to ensure it functioned properly.

