Posted on 2019-12-08 in

Gallery
About Project
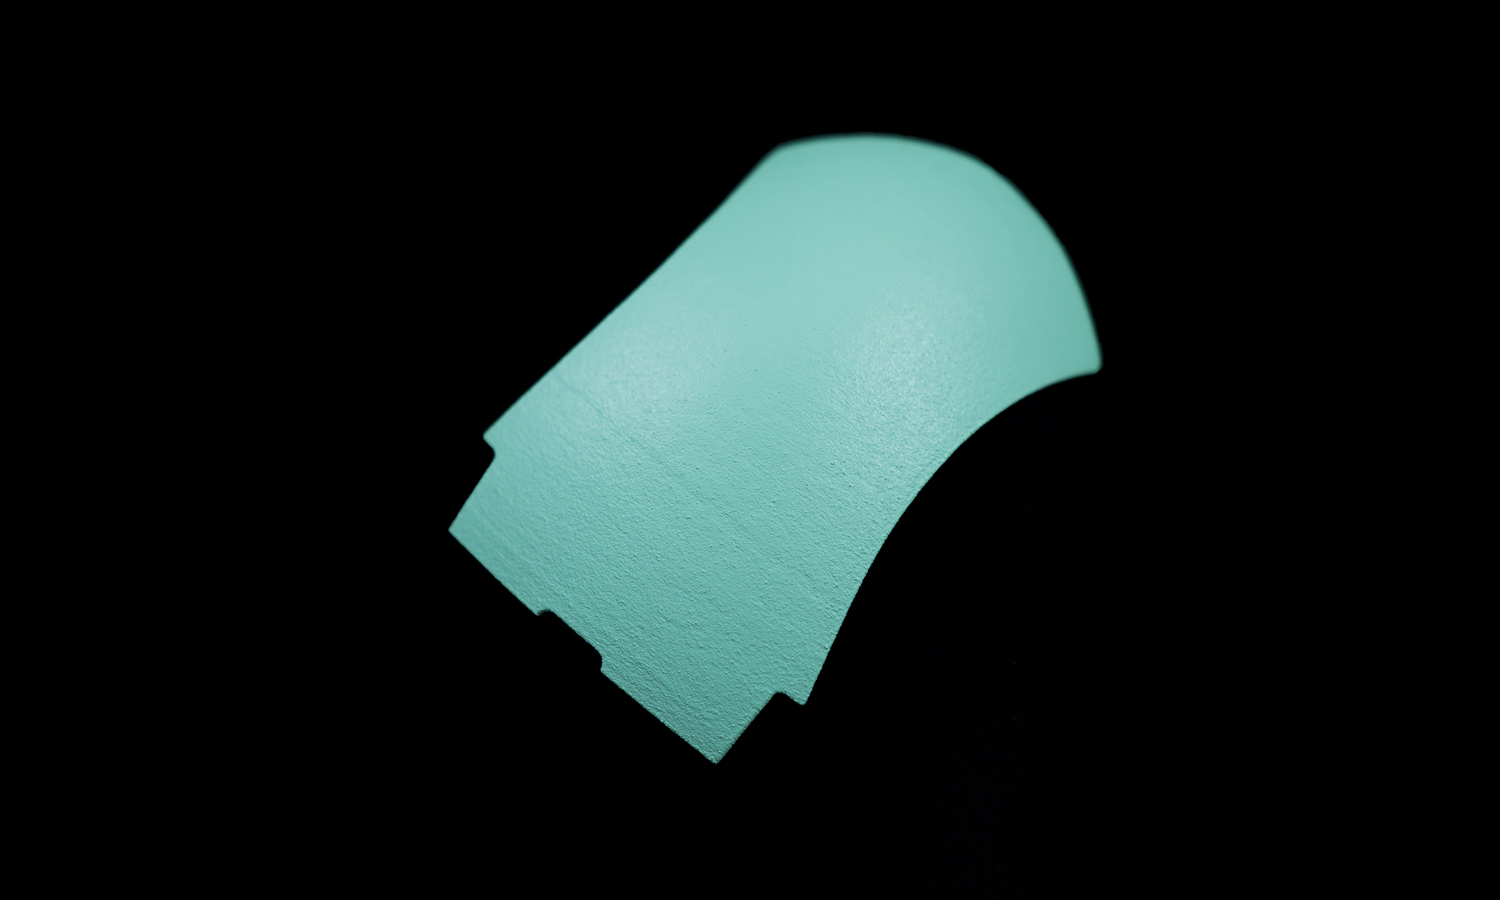
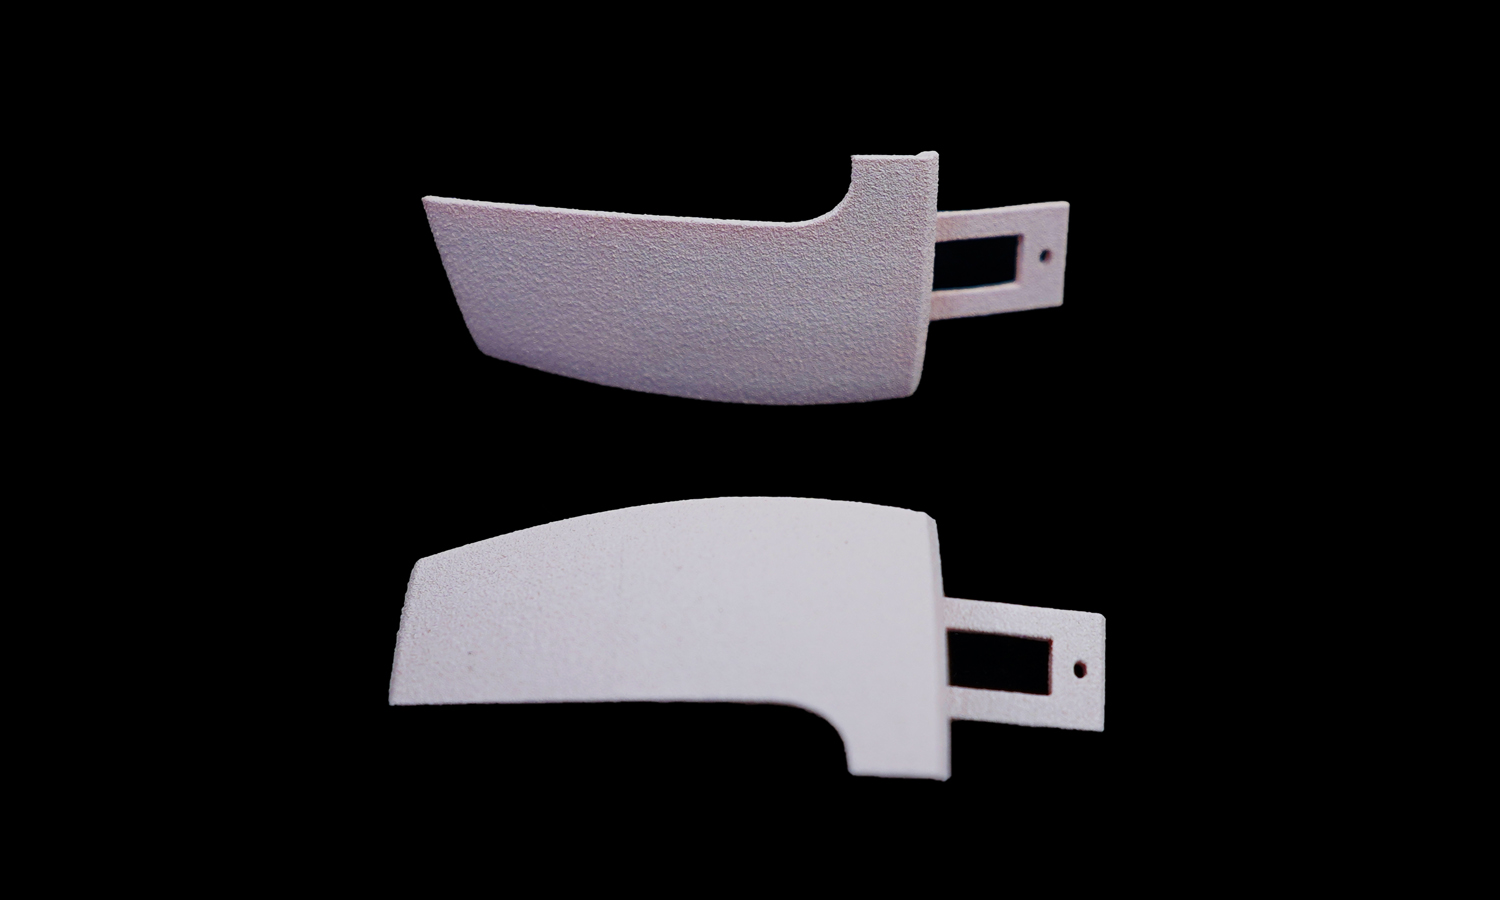
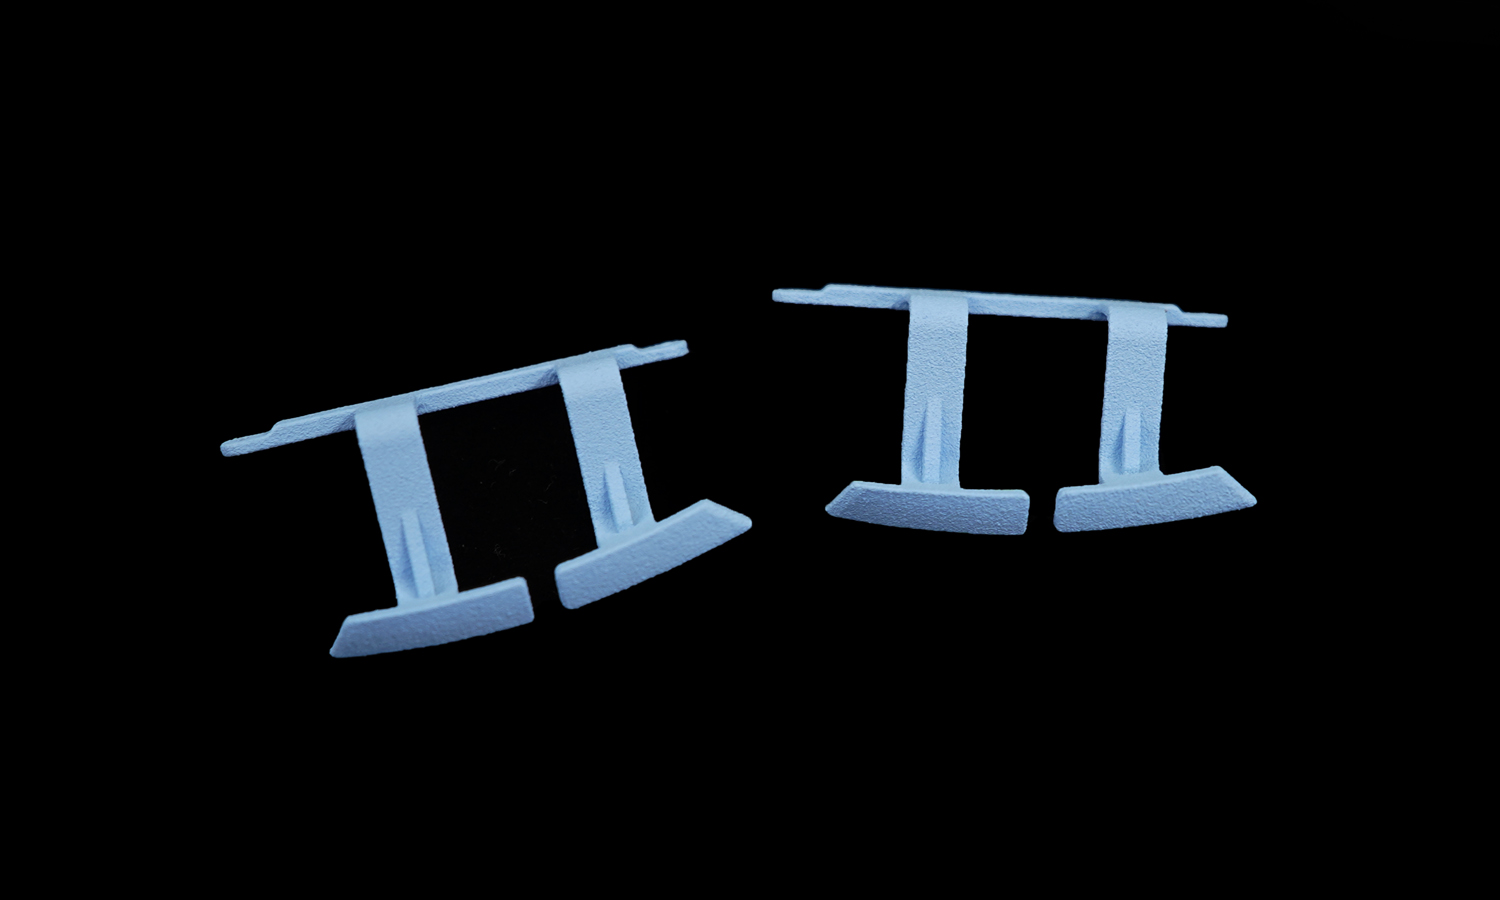
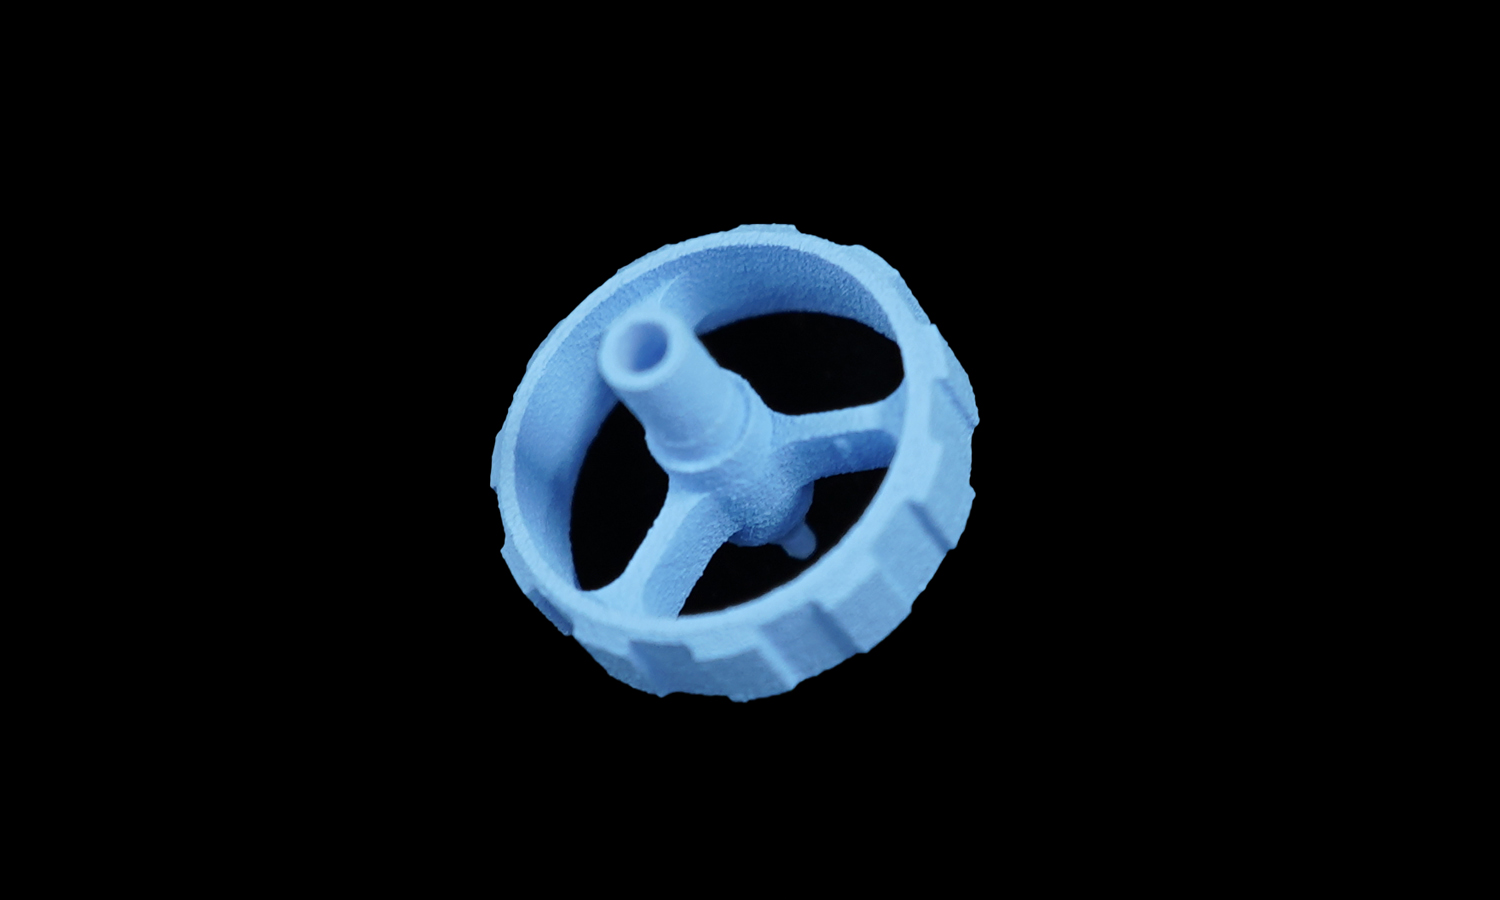
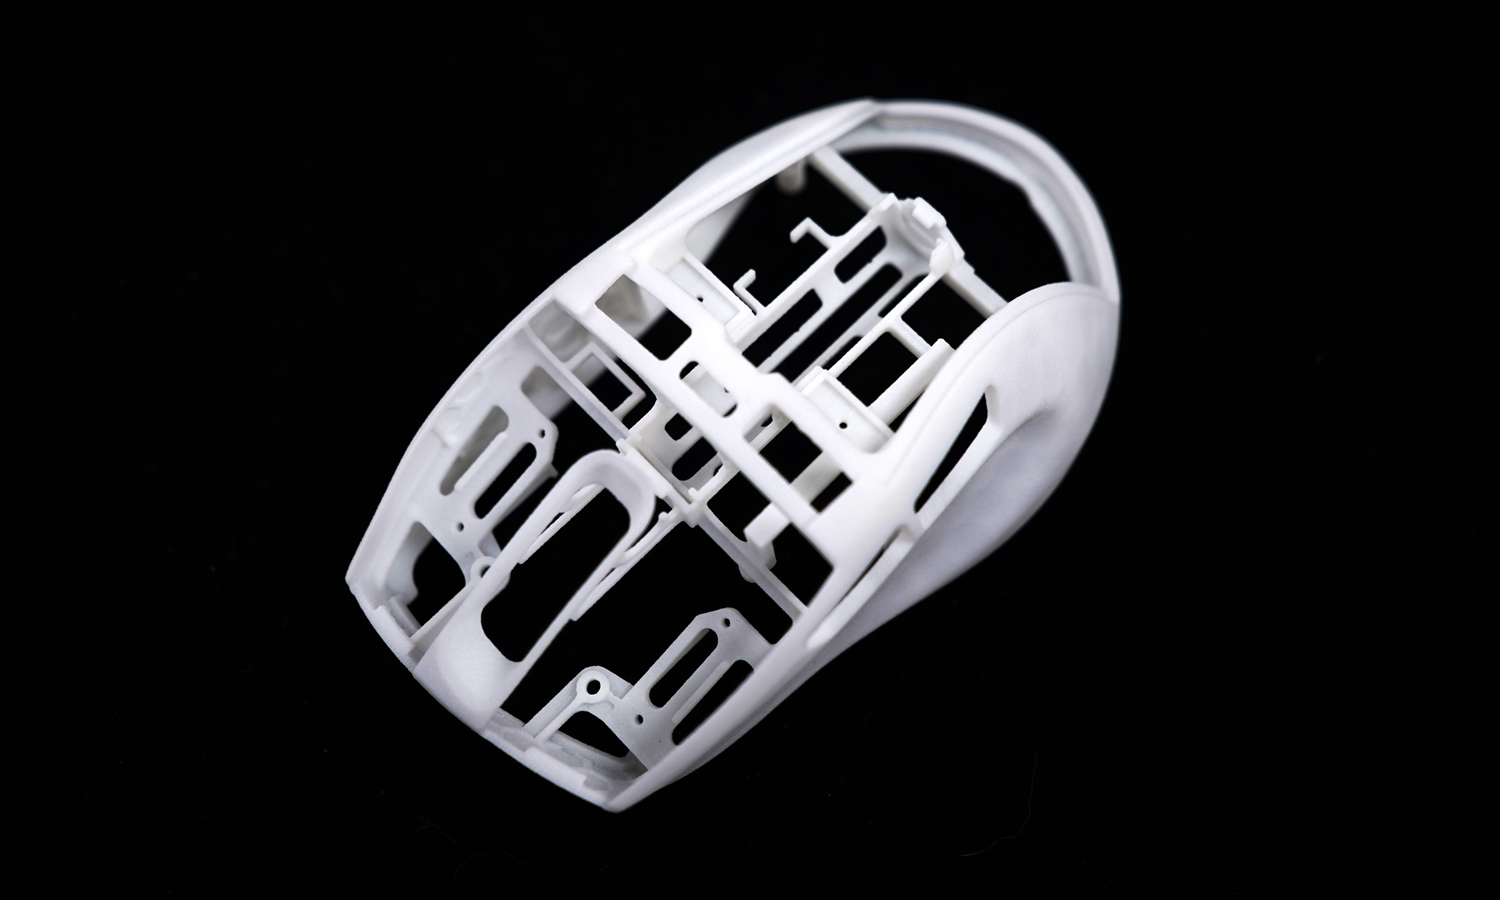
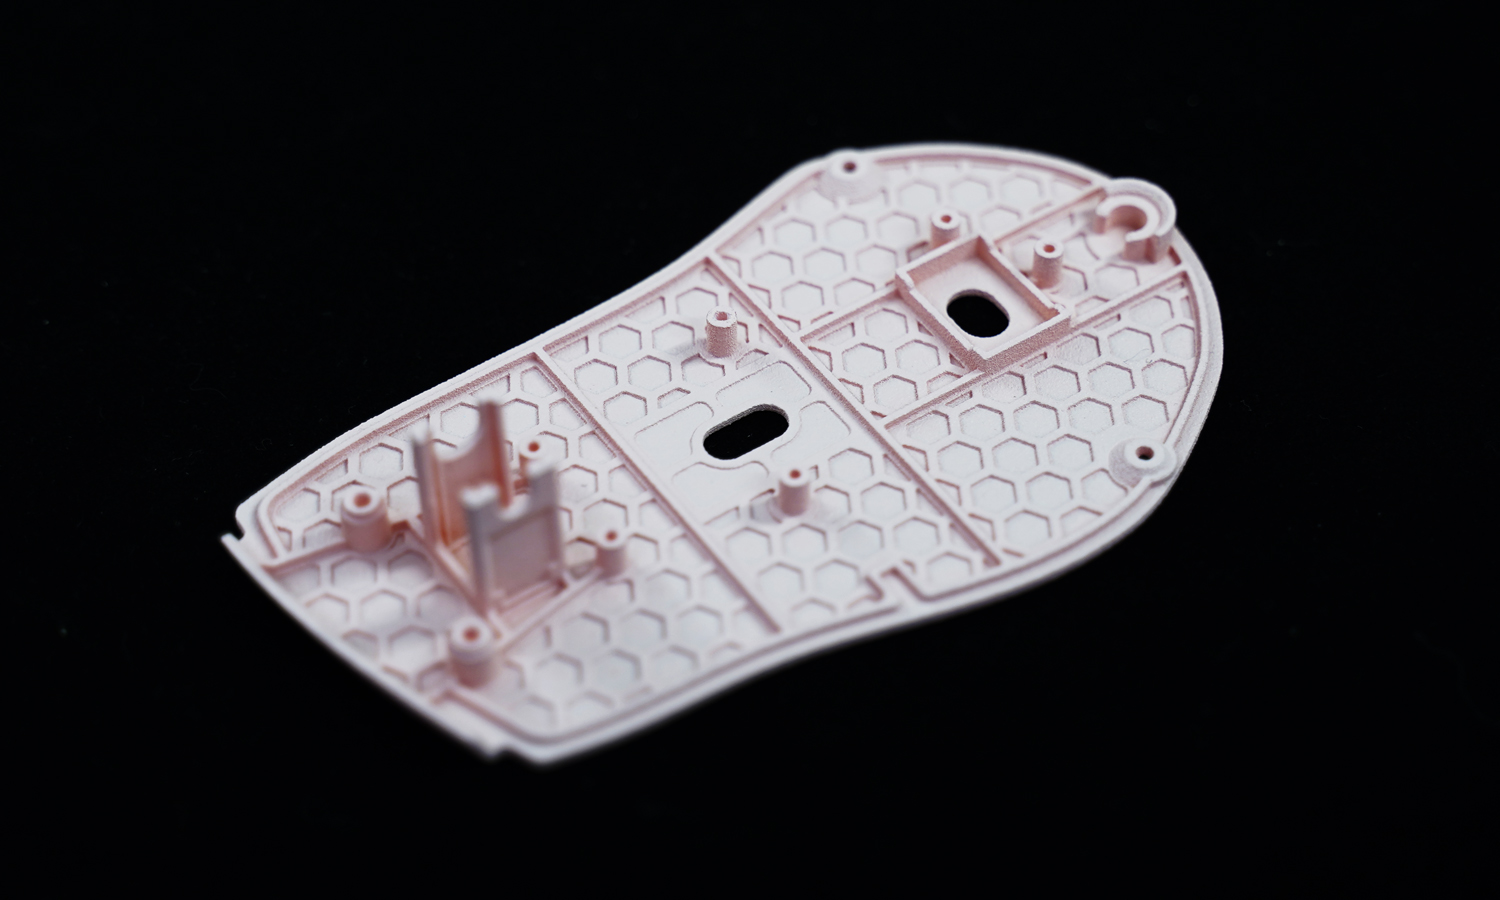
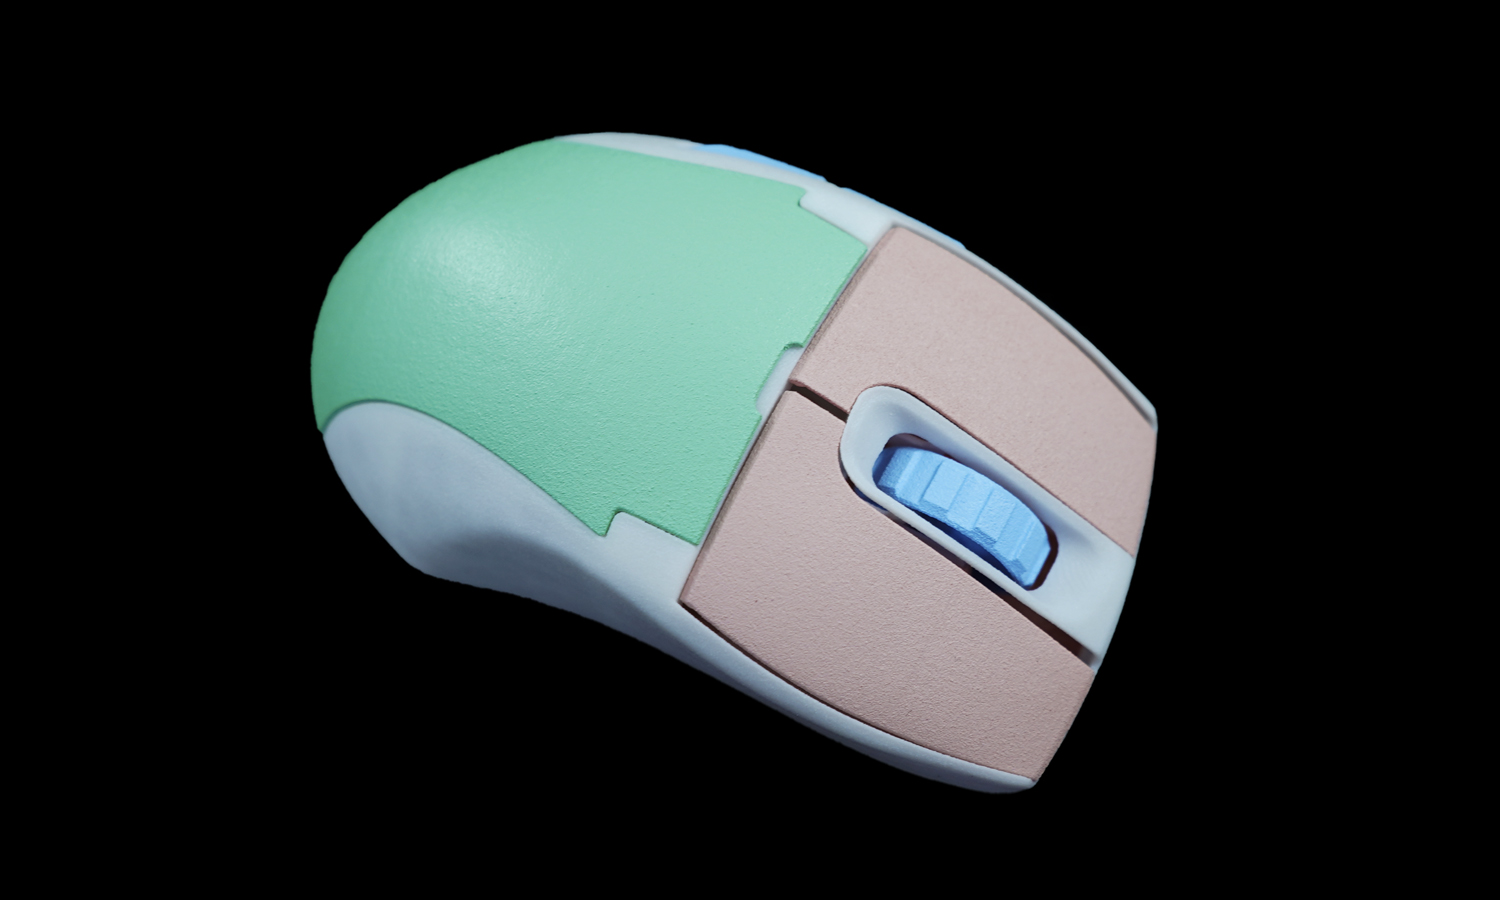
This mouse cover is customed for a client who is not satisfied with the current color combination of his mouse. We printed the whole set with white nylon, which is soft and a bit brittle but is good for painting.
Solution
- Step 1: First, the 3D model will be broken down into layers of 0.1 mm on the computer and sent to the 3D printer.
- Step 2: Before printing, we need to fill the tank with PA 12 powders. On a bed pressure, a 0.1 mm thick layer over the whole width is applied.
- Step 3: Pre-heat the machine to about 100┬░C, and the laser will lit the powder and increases the temperature just above the melting point of the powders.
- Step 4: After a layer is formed, the platform will lower down and produce another layer.
- Step 5: When the printing process ends, remove the excess powders which also serve as supports.
- Step 6: Paint the parts into specified colors as requested by the client with airbrushes.

